- Ensure you have QR code image on a printout or on another screen.
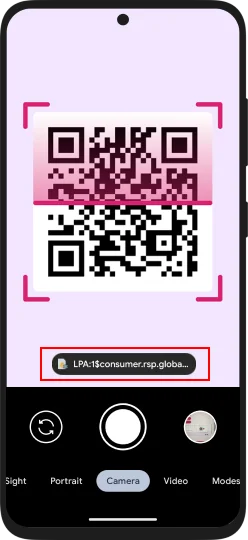
- Open the Camera app and point camera towards QR code.
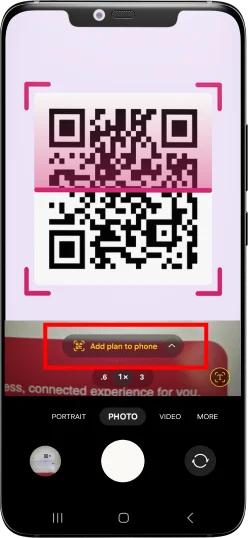
- Tap the yellow prompt and follow instructions.

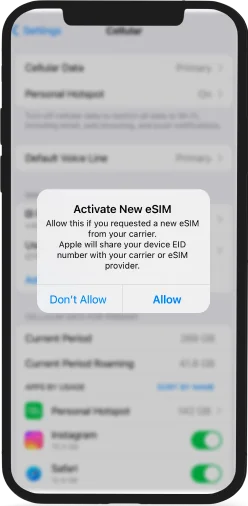
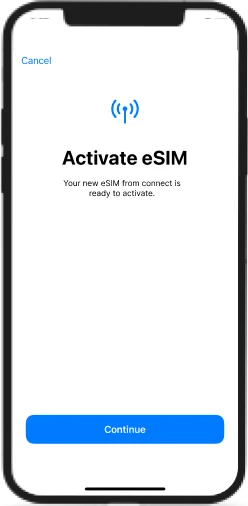
- Follow the installation flow of your device.
- Your Amigo eSIM is ready to be activated.
This applies if you have iOS 17 or above.
You can quickly install the eSIM by simply tapping
on the QR code.

- Touch and hold the QR code and tap Add eSIM
- Follow the installation flow of your device
- Your Amigo eSIM is ready to be activated
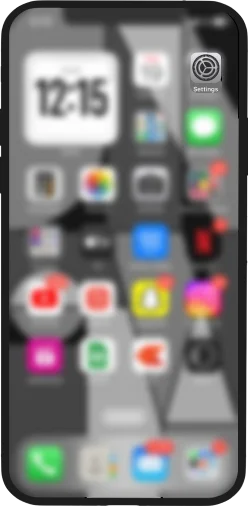
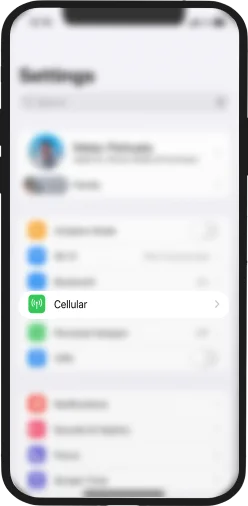
- Go to the “Settings”
- Select "Cellular/Mobile Data"
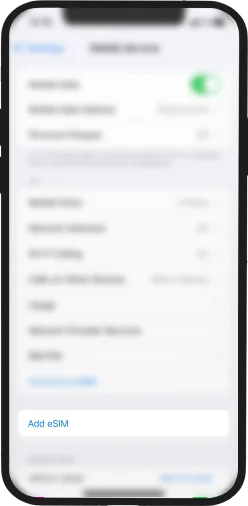
- Tap “Add eSIM”
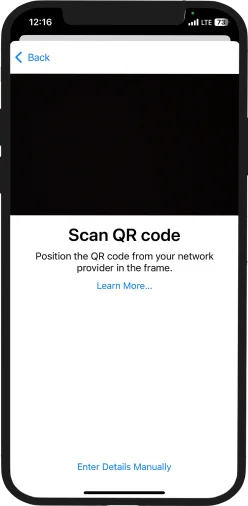
- Tap “Enter Details Manually”
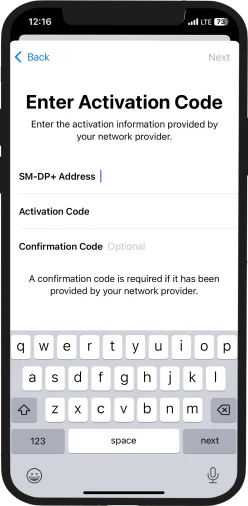
- Enter the SM-DP Address and the Activation Code
- Note: Find the codes in the order confirmation email sent by Amigo
- Your Amigo eSIM is ready to be activated
iPhone eSIM Activation
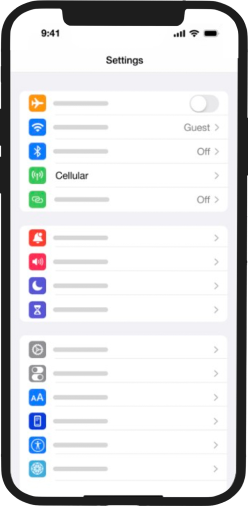
Open Settings on your iPhone and select “Cellular”
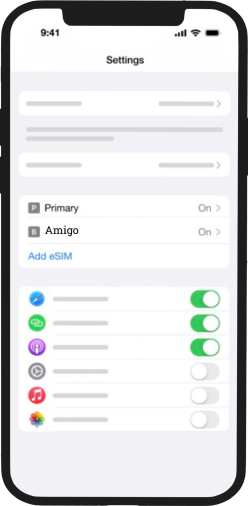
Tap on “Cellular” and select the Amigo eSIM.
Note: The eSIM will be labelled as “Connect” you can rename it in the Settings.
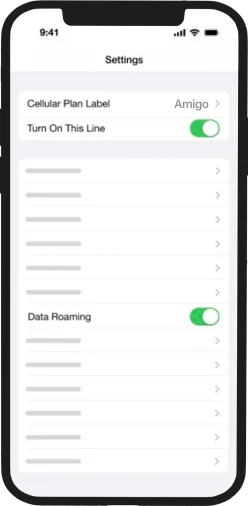
Turn on your Amigo eSim and make sure that Data Roaming is ON too.
Note: Turn OFF your Primary data (home country) when prompted.
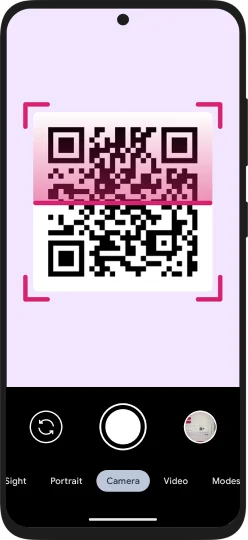
- Ensure you have QR code image on a printout or on another screen.
- Open the camera app and scan the QR code
- Tap the yellow prompt and follow the instructions
- Follow the installation flow of your device.
- Your Amigo eSIM is ready to be activated

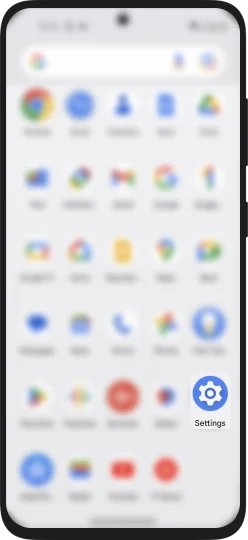
- Go to the “Settings”
- Tap on Network & Internet

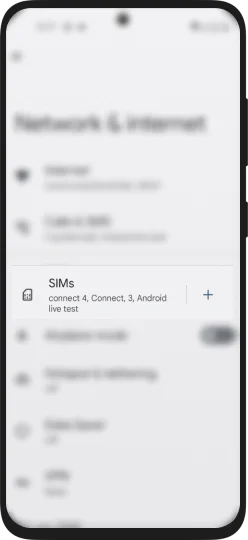
- Select SIMs
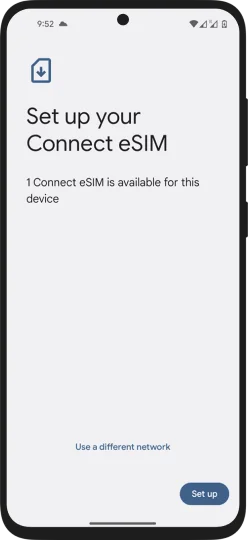
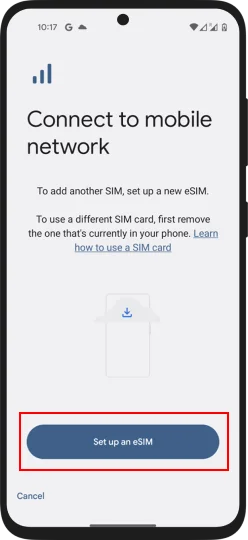
- Tap on “Set up an eSIM”
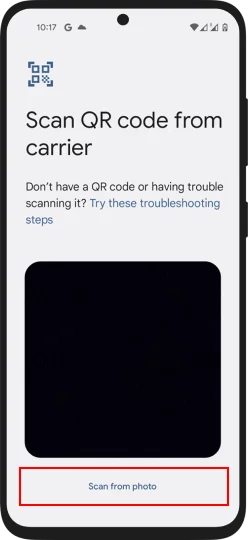
- Tap on Scan from photo and upload the screenshot of the QR Code
- Follow the installation steps of your device

- Your Amigo eSIM is ready to be activated
- Go to the “Settings”
- Tap on "Network & Internet"
- Select "SIMs"
- Tap on Set up an eSIM
- Tap “Try these troubleshooting steps”
- Select the first option and Enter details manually.

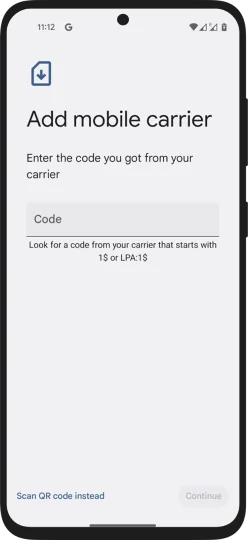
- Copy and Paste the Activation Code
- Note: Find the code in the order confirmation email sent by Amigo
- Follow the steps of your device
- Your Amigo eSIM is ready to be activated
Android eSIM Activation
Open Settings and select “Network & Internet”
Tap on “SIMs” and select “Connect”
Note: The eSIM will be labelled as “Connect” you can rename it in the Settings.
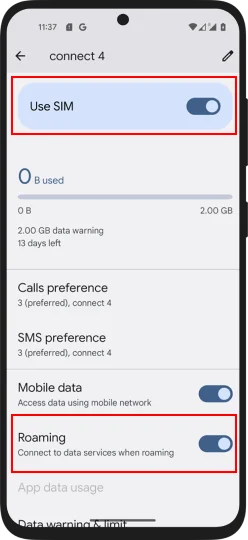
Turn on your Amigo eSim and make sure that Data Roaming is ON too.
Note: Turn OFF your Primary data (home country) when prompted.
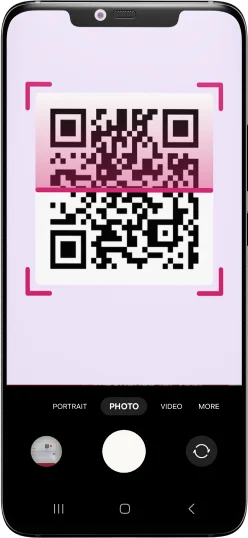
- Ensure you have QR code image on a printout or on another screen
- Open the Camera app and scan the QR code
- Tap the yellow prompt and follow the instructions

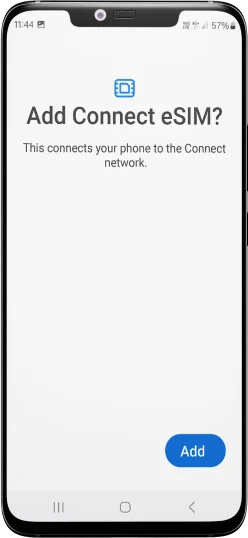
- Add and active your Amigo eSIM.
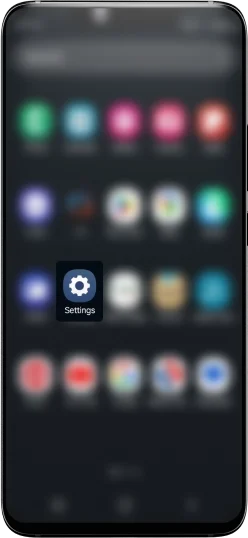
- Go to the “Settings”
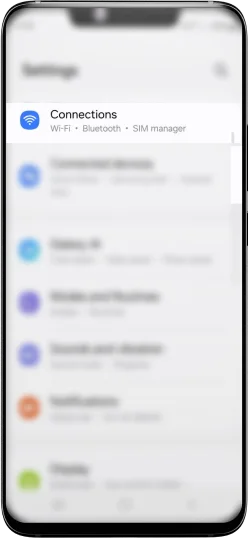
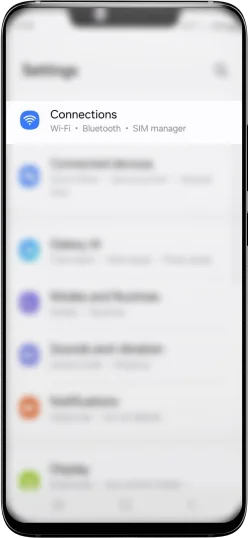
- Tap on "Connections"
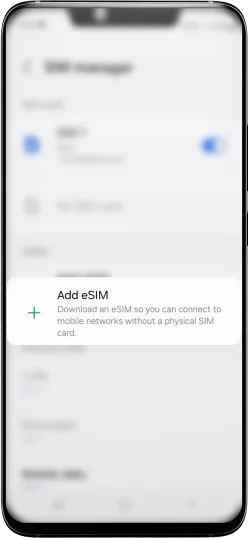
- Tap on "Add eSIM"
- Tap "Scan QR Code"


- Tap on the Gallery icon on the bottom right
- Add and active your Amigo eSIM.


- Go to the “Settings”
- Tap on "Connections"

- Select “Add eSIM”
- Tap “Scan QR Code”


- Tap “Enter activation code” and, Copy and Paste your Activation Code
- Note: Find the code in the order confirmation email sent by Amigo
- Add and active your Amigo eSIM.
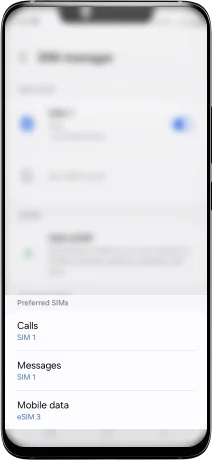
Samsung eSIM Activation
Open Settings select "Connections" and tap “SIM Manager”
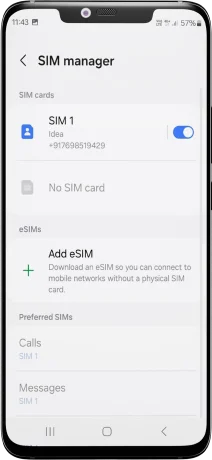
Turn the toogle on and for the eSIM you want to activate
Note: The eSIM will be labelled as “Connect” you can rename it in the Settings.
Make sure that Data Roaming is ON too
Note: Turn OFF your Primary data (home country) when prompted.
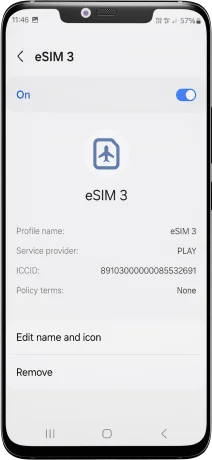
Tap on your eSIM to edit the icon and rename it!
